As an experienced filmmaker, I can tell you that the world of filmmaking is always evolving. One technique that has gained popularity in recent years is the hyperlapse. But what is hyperlapse, and how can it be used in filmmaking? In this guide, I’ll break down the basics of this captivating technique and provide examples of how it’s been used in Hollywood films. So, if you’re a beginner filmmaker looking to level up your skills, keep reading!
What is a Hyperlapse?
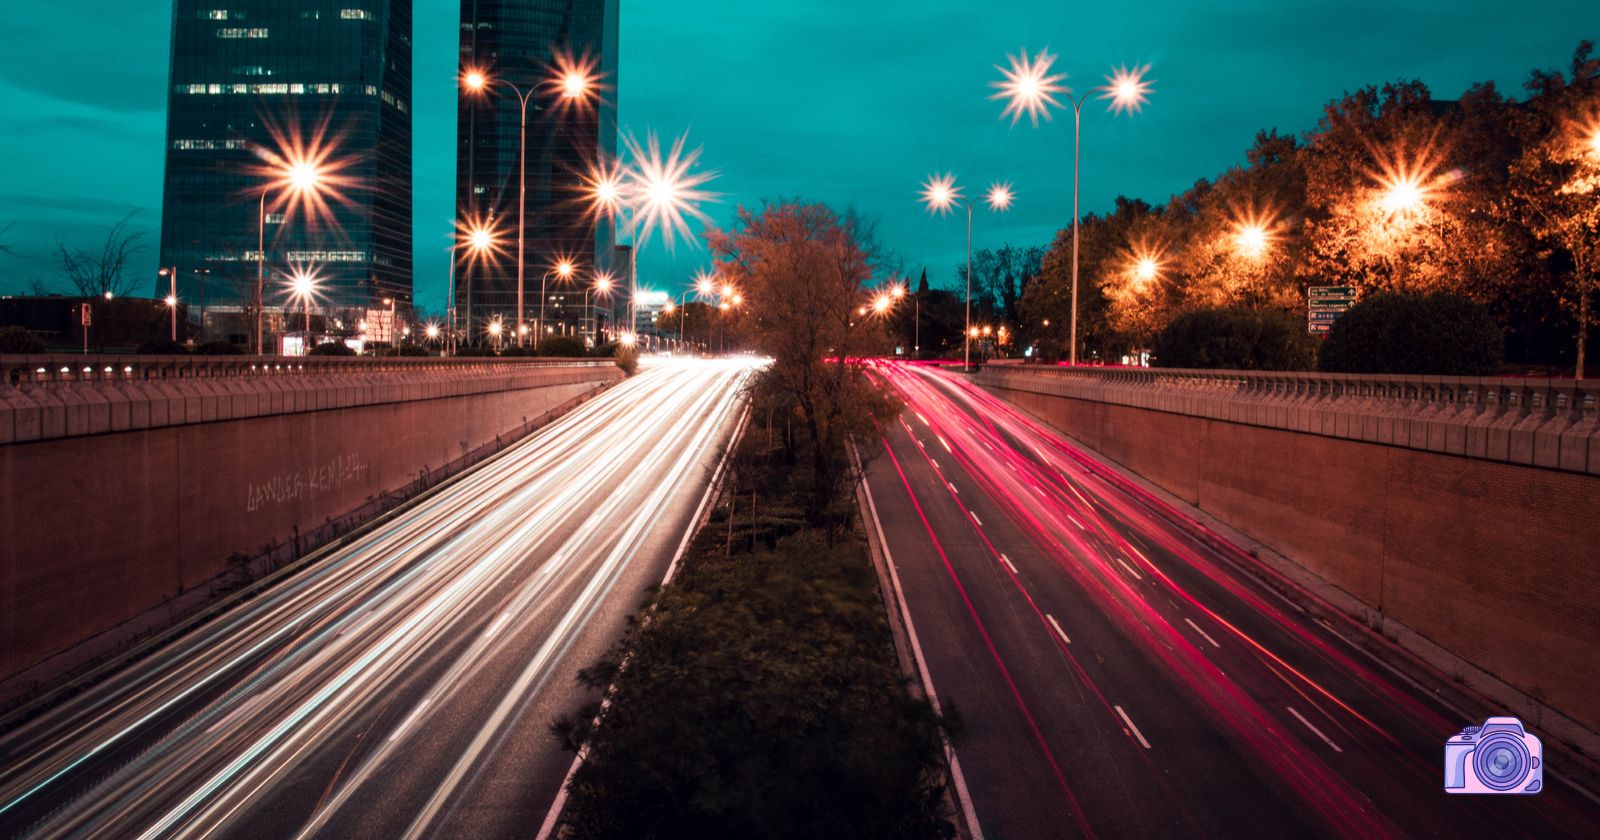
Hyperlapse is a filmmaking technique that involves capturing a series of photos taken at set intervals while the camera moves significant distances between each shot. The resulting images are then combined into a single video sequence, creating a fast-paced, time-lapse effect with an added sense of motion. This technique can add a dynamic and visually stunning element to your films, allowing you to showcase the passage of time or emphasize a change in location.
Why Use Hyperlapse in Filmmaking?
Incorporating hyperlapse into your filmmaking projects can provide a unique perspective and elevate your storytelling. It can be used to:
Show the passage of time:
Hyperlapse is perfect for illustrating the passage of time, whether you’re showcasing the construction of a building or capturing the change of seasons.
Enhance location changes:
Hyperlapse can help emphasize a change in location by visually connecting two different scenes, making it ideal for transitions in your film.
Create dynamic establishing shots:
A hyperlapse can add a sense of movement and energy to your establishing shots, setting the tone for the rest of your film.
What is a Hyperlapse used for?
Hyperlapse is a versatile technique that can be used in various filmmaking scenarios to create visually engaging sequences. Some common uses of hyperlapse include
Documentary filmmaking:
In documentaries, hyperlapse can be used to illustrate changes in landscapes, urban development, or the progression of a story. It can help make complex subjects more accessible and visually appealing for the audience.
Travel and tourism videos:
Hyperlapse is perfect for showcasing the beauty and energy of a city or a location. By compressing hours or even days into seconds, hyperlapse can give viewers a unique perspective on a destination, making it an excellent tool for travel and tourism content.
Music videos:
Many music videos utilize hyperlapse to add a dynamic and visually interesting element to their storytelling. The technique can create a sense of movement and energy that complements the rhythm of the music.
Advertisements and promotional videos:
Hyperlapse can be used in advertising to create eye-catching visuals that capture the viewer’s attention. It can help communicate a brand’s message quickly and effectively, making it an excellent choice for promotional content.
What is the difference between a Hyperlapse and a Timelapse?
While both hyperlapse and timelapse techniques involve capturing a series of images over a period and then combining them into a video sequence, there are key differences between the two:
Camera movement:
The most significant difference between hyperlapse and timelapse is the camera movement. In a hyperlapse, the camera moves significant distances between shots, creating a sense of motion in the final video. In contrast, a timelapse typically involves a stationary camera or only slight camera movement, focusing more on the changes within the frame rather than the camera’s movement through space.
Subject matter:
Timelapse is often used to showcase changes in weather, the movement of clouds, or the transition from day to night. Hyperlapse, on the other hand, is more commonly used to illustrate changes in location, the passage of time in a specific context, or to add a sense of motion to a scene.
Complexity:
Creating a hyperlapse is generally more complex and time-consuming than a timelapse. The process of moving the camera between shots and maintaining consistent framing requires careful planning, precise execution, and stabilization in post-production. Timelapse, with its more straightforward setup, is often easier to achieve, especially for beginner filmmakers.
By understanding the differences between hyperlapse and timelapse, you can choose the appropriate technique for your filmmaking needs and create visually stunning sequences that captivate your audience.
Examples of Hyperlapse in Hollywood Films
Hyperlapse has been used in several Hollywood films to great effect. Here are a few examples to inspire you:
The Walk (2015):
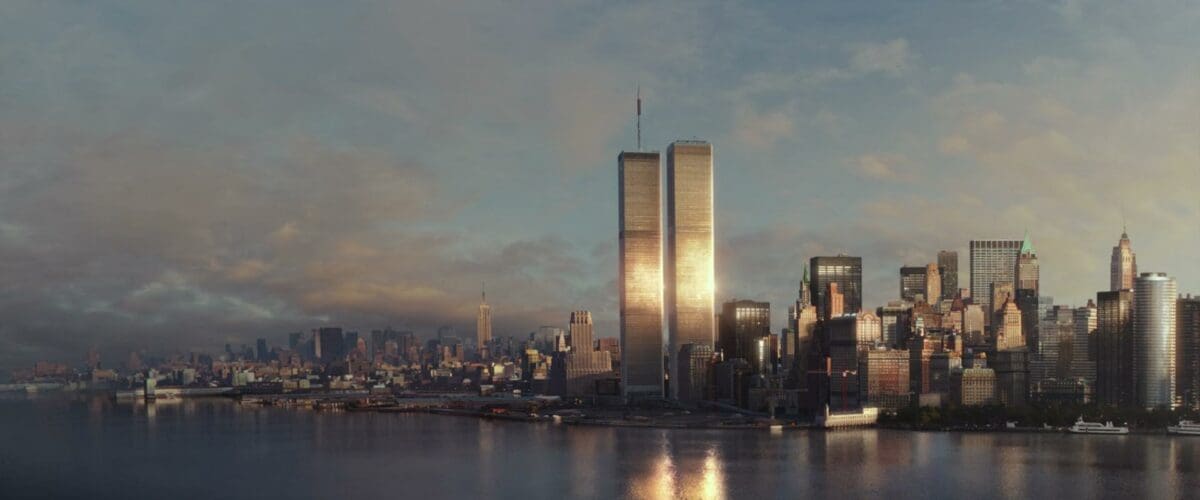
In this biographical drama, director Robert Zemeckis uses hyperlapse to showcase the construction of the World Trade Center’s Twin Towers, creating a sense of anticipation for the film’s climax.
House of Cards (2013-2018):
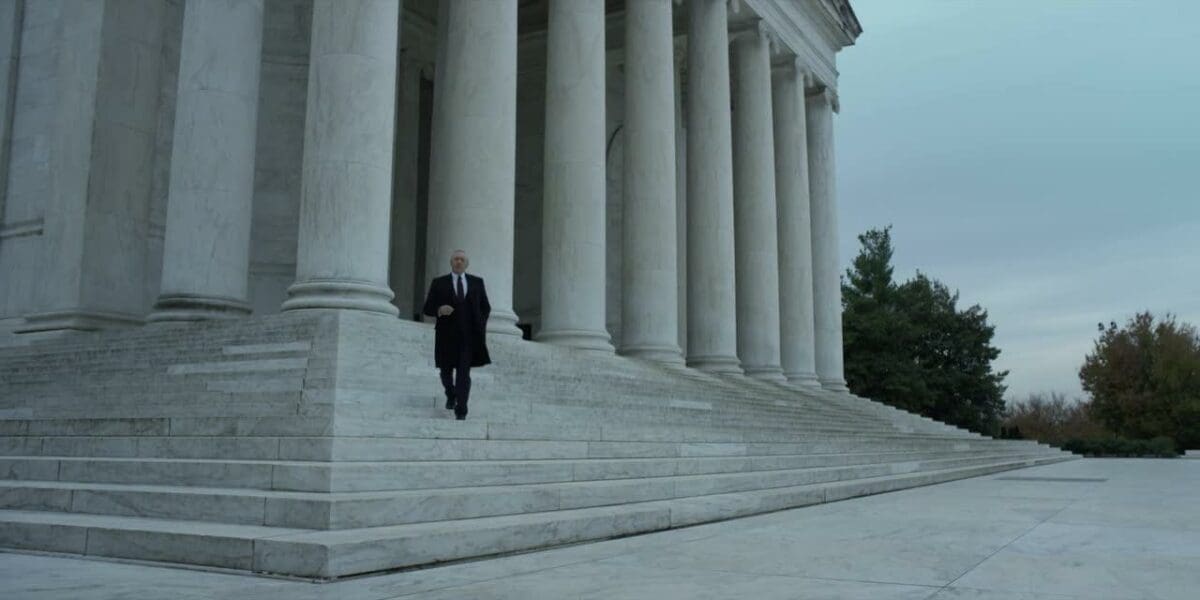
The opening sequence of this critically acclaimed TV series features a hyperlapse of Washington, D.C., setting the stage for the political intrigue that unfolds throughout the show.
Sherlock Holmes: A Game of Shadows (2011):

In this action-packed sequel, director Guy Ritchie employs hyperlapse to depict the rapid progression of a train journey across Europe, heightening the sense of urgency and adventure.
How to create a Hyperlapse:
Here is a breakdown of the steps in which you need to undertake to make a sensational Hyperlapse, let’s get to it:
Location
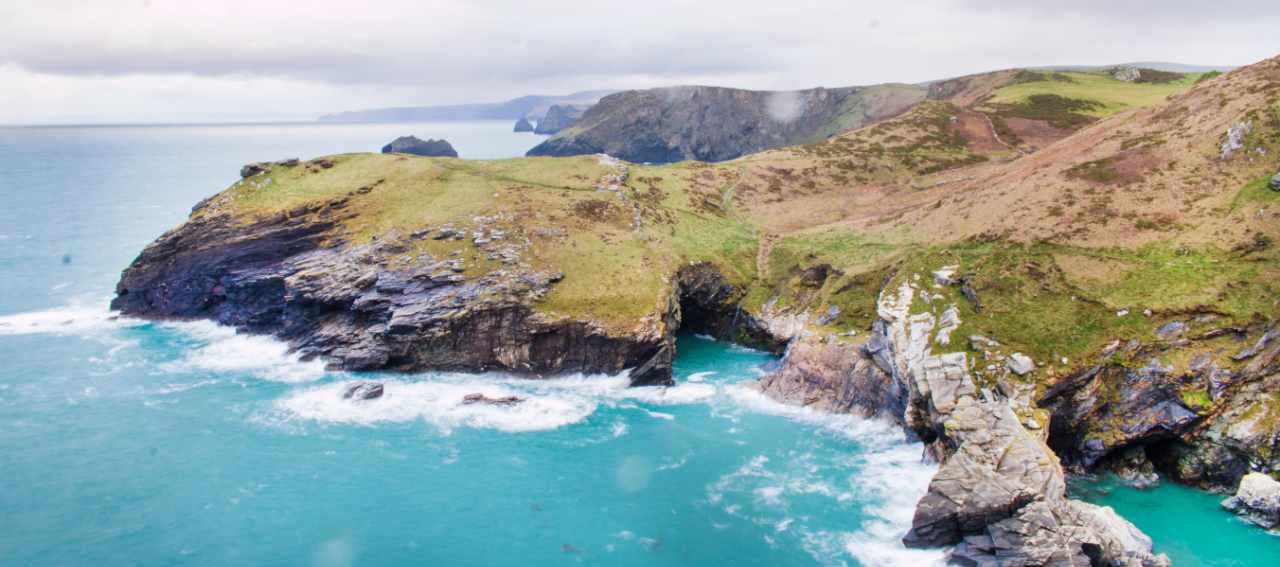
You heard it right, firstly you need to decide on a location. Why is it so important? Well, the location is integral to creating a hyperlapse.
You need to find a location with plenty of space for you to move around in to get the correct movement for the hyperlapse, make sure to find somewhere with reasonable flat ground.
Direction
Choose the direction you wish to go in when taking the images. Are you looking to move towards the subject of the shot, away from it or are you looking to move around the subject in a 360-degree motion?
We advise to choose one motion if it’s your first attempt, then once you’ve nailed one direction you can start adding additional moves to create an extra dimension for the shot.
The focal point
The focal point will allow your hyperlapse to stay stable. As you will be moving a lot you need to have one main focal point to keep the shots stable, this is key to having the perfect hyperlapse.
Firstly make sure you take note of your focal point within your subject, decide on what it’s going to be and stick with it throughout the shoot – pick anything that really stands out.
It isn’t always possible to find the focal point, which can be a hindrance, however, it’s not impossible. We’d advise shooting a building for the first attempt as the edges can be used as a focal point and will ensure a smooth hyperlapse.
If your subject doesn’t have a clear focal point either find a new subject or you can attempt one and keep an eye line that suits the movement.
We definitely advise starting on the easy subjects i.e a building where there are easy to find focal points and use this for your first couple of hyper lapses to make sure you are getting the shots correctly. After that definitely move on to more complex structures as your skills develop.
Grid display to keep the focal point consistent
This is so important, we can’t tell you enough. Using a tripod as you move the camera for each step will help you a lot when achieving the stability.
Make sure you set up the grid display and shoot on live mode. You can then use the grid lines as a measure for your focal point, ensuring the focal point is always in the same spot every time you move to take the next picture.
Shoot in manual mode
Shoot manually by shooting in RAW mode. The reason for this is to preserve the raw footage which in turn allows you to edit the images to your preference.
Manual mode offers you full control over your pictures and allows you to keep consistency through images creating a much more appealing hyperlapse.
Step, shoot, step, shoot
Yep, it’s as simple as that, every step you take, snap a picture. You want to ensure you have your camera set on manual mode and set to shoot RAW footage.
Choose any starting point you like and adjust the settings to suit and make sure you have chosen your focal point. Now it’s time to take your first snap and then take a step forward, aim at your focal point and then move. As simple as that!
Things to look out for are changes in light or weather. This will affect the exposure and change the colour on your images so you may need to adjust the white balance to ensure they all stay consistent.
Hyperlapse Post Production
Once you have followed the above steps and have your shots, it’s time to take your hyperlapse to the next level.
Firstly let’s look at the imagery. Once you have finished taking your pictures you will need to upload these as a sequence. If you name them in alphabetical order it will make it easier to upload and position correctly.
Once you’ve created a sequence and they’re all in place use warp stabiliser if you’re using Adobe Premiere Pro or the equivalent on other video editing platforms. This will then smooth the motion as it flicks through the imagery providing you with a smooth, perfect hyperlapse.
Now it’s time to add some music to it to polish of the hyperlapse! Choose something that suits the style of the hyperlapse and then you’re done, you are ready to publish it!
Frequently Asked Questions about Hyperlapse
As you explore the world of hyperlapse, you may have some questions about this intriguing filmmaking technique. To help you gain a deeper understanding and feel more confident in creating your own hyperlapse sequences, I’ve compiled a list of frequently asked questions and their answers. These FAQs will address common concerns and provide useful tips for beginner filmmakers venturing into the captivating realm of hyperlapse.
What equipment do I need to create a hyperlapse?
To create a hyperlapse, you’ll need a camera (DSLR, mirrorless, or even a smartphone with manual settings), a tripod, and a way to measure the distance between each shot (such as a tape measure, chalk, or a marker). Optionally, you might want to use a remote shutter release or an intervalometer to ensure consistent timing between shots.
How can I stabilize my hyperlapse footage?
Stabilizing your hyperlapse footage is crucial to achieving smooth, professional results. You can stabilize your footage in post-production using software like Adobe After Effects with its Warp Stabilizer effect, or other video editing programs that offer stabilization features.
How do I choose the right interval between shots for my hyperlapse?
The interval between shots in a hyperlapse depends on the subject matter, desired speed of the final video, and the distance the camera moves between shots. In general, shorter intervals (e.g., 1-2 seconds) work well for fast-moving subjects or when the camera is moving a short distance.
Longer intervals (e.g., 5-10 seconds) are better suited for slower-paced scenes or when the camera moves a greater distance. Experimenting with different intervals will help you find the best balance for your specific project.
Can I create a hyperlapse using a drone?
Yes, you can create a hyperlapse using a drone. Many modern drones come with built-in hyperlapse features, which make it easy to capture stunning aerial hyperlapses. If your drone doesn’t have a built-in hyperlapse mode, you can still create one by manually flying the drone along a set path while taking photos at regular intervals.
How do I make my hyperlapse look more professional?
To achieve a more professional-looking hyperlapse, focus on the following aspects:
- Ensure consistent framing and composition throughout the sequence.
- Use manual camera settings to maintain consistent exposure and white balance.
- Stabilize your footage in post-production for smoother results.
- Consider adding motion blur to individual frames using software like Adobe After Effects, which can help create a more natural and cinematic look.
By addressing these frequently asked questions, you’ll have a better understanding of the hyperlapse technique and how to create stunning hyperlapse sequences for your filmmaking projects.
Final Thoughts on What is Hyperlapse in Film
Now that you know what hyperlapse is and how it can be used in filmmaking, it’s time to experiment with this technique in your own projects. By incorporating hyperlapse into your films, you can create visually stunning sequences that will captivate your audience and elevate your storytelling. So, go out there and unleash your creativity with the power of hyperlapse!