Lumetri scopes are one of the most important features in Adobe Premiere Pro. If you have a poorly lit room, an old monitor, or light painted walls – this may distort your view.

But what does Lumetri mean? The lumetri meaning is that colour correcting feature found in Premiere Pro. At the same time, the scopes are several graphic meters that assist in colour correction.
You may think you’ve colour corrected it, but actually, your original footage has been miscalibrated. This happens more often than you think.
Below we have broken down each aspect of the Lumetri Scopes functionality and how you can apply the Lumetri scopes in Adobe Premiere Pro yourself.
You can also watch our breakdown below in the YouTube video. Our editor Philip talks you through Lumetri scopes from premiere Lumetri color to Lumetri scopes after effects. Additionally, he will also explain how you can use Lumetri Scopes to colour your video.
This will help you create a solid grading and create a cinematic look on your current footage.
What are Lumetri Scopes?
Lumetri Scopes is a colour correction tool within Adobe Premiere Pro. It comprises of Waveform, Vectorscope and Histogram that allows you to monitor colour levels and grade to your preferred colour setup.
Lumetri Scopes are perfect for making sure your colour setups are balanced, and that you have no nasty surprises once you export your project and display it to your audience.
It esentially assists you in achieving the perfect colour grading and colour correction of your film. You can use this to match the colour to the genre and help emphasise the atmosphere within your film.
What does Lumetri mean?
Lumetri is a term coined by Adobe Premiere Pro. It’s a colour correction panel within Adobe Premiere Pro. It allows you to edit and colour correct to ensure your video footage is coloured correctly to display crisp, adequately coloured.
It’s essentially an in-depth colour correction tool in which you read the colour correction graphs to ensure they’re well balanced and suit your colour schemes for your film.
It’s imperative you balance these correctly, and using the different scopes: Waveform, Vectorscope, and Histogram allow you to colour correct your footage to the optimum level.
You may also be interested in reading: Add handheld camera shake in Adobe Premiere Pro [6 Simple Steps]
What is the purpose of colour grading?
Colour grading can be used to make creative changes to your footage, as well as technical corrections. It’s the process of changing the original colour setup and essentially adding layer of colour to your footage.
This is where you start to mould the cinematic setup of the shot. They use colour grading artistically, and it allows you to add to the colour of the footage, matching the colour schemes with your genre.
Colour grading is where you add the cinematic finish to your footage, and Lumetri Scopes is perfect for this and any technical changes to your colouring.
You may also be interested in: What is colour grading? Everything you need to know!
Lumetri scopes: Where to find the Lumetri Scopes Panel
*To open the Lumetri scope’s functionality in Adobe Premiere Pro simply,
Window > Workspaces > Color.
How do you use Lumetri colour?
Here’s our breakdown of lumetri scopes and the individual components and what each module is used for. Lumetri scopes are perfect for colour correction and ensuring that you have correctly coloured scenes. By using each of these tools it will allow you to adequately manage the colour balance and make any edits.
Let’s check them out.
Waveform

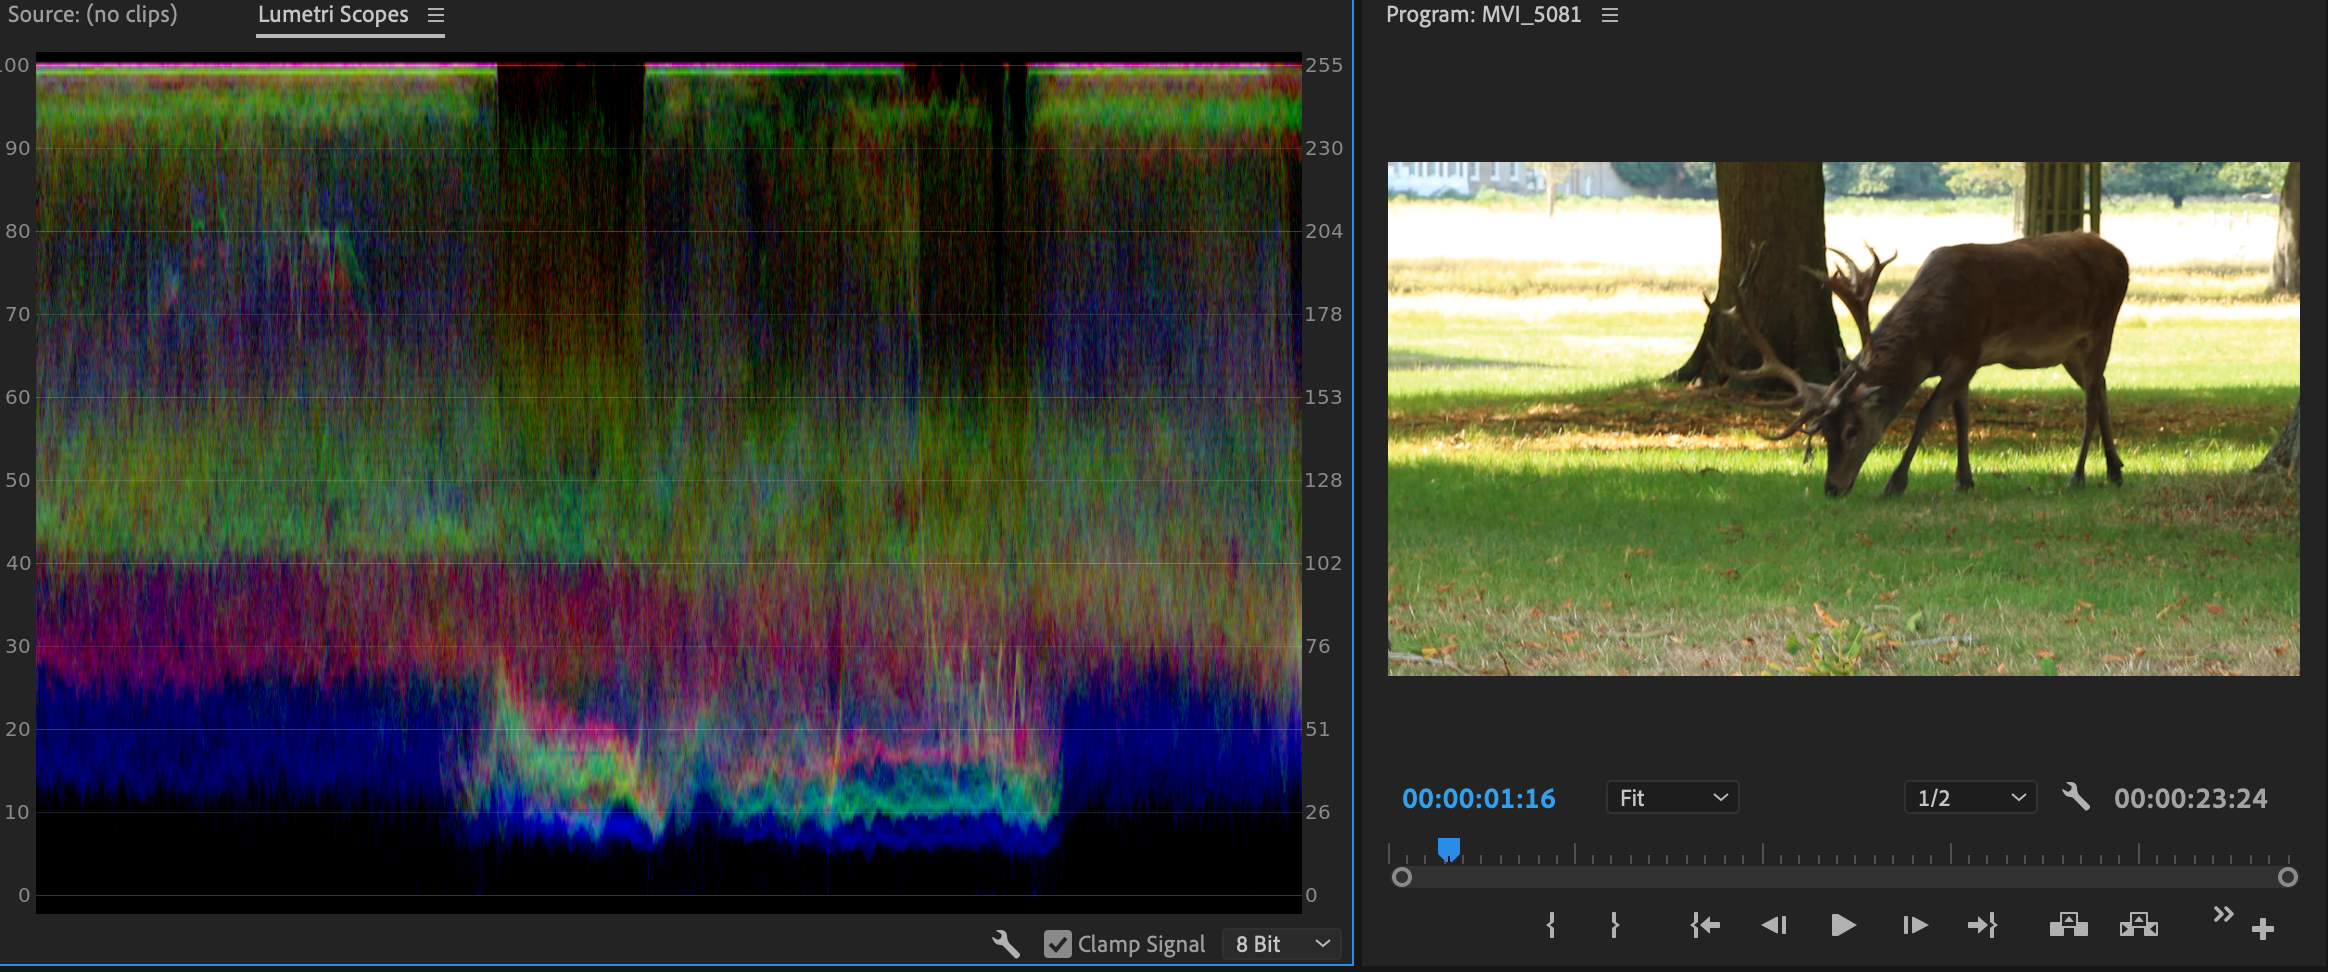
The waveform displays the intensity of the signal. This shows the levels of each pixel and the location within the image/video. You can also select which waveform you wish to use.
They are displayed with IRE units. Measured (White) 0-100 (Black). You can view in RGB which shows the RGB signals, luna waveform (brightness and contrast ratio), and the YC.
YC or YC (no chroma). This displays the chrominance and luminance in YC and the luminance only in YC (no chroma).
READ MORE: The top 5 starter cameras for beginner filmmakers
Vectorscope

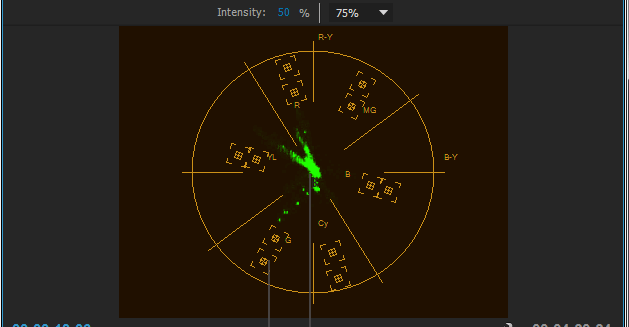
This shows the chrominance information. This is a circular chart that shows the saturation which can be measured outwards. The vivid colours show up as a pattern far from the centre of the chart. Whereas the black and white imagery only shows up as a dot at the centre of the chart.
READ MORE: How to get that cinematic feel in Adobe Premiere Pro
Histogram

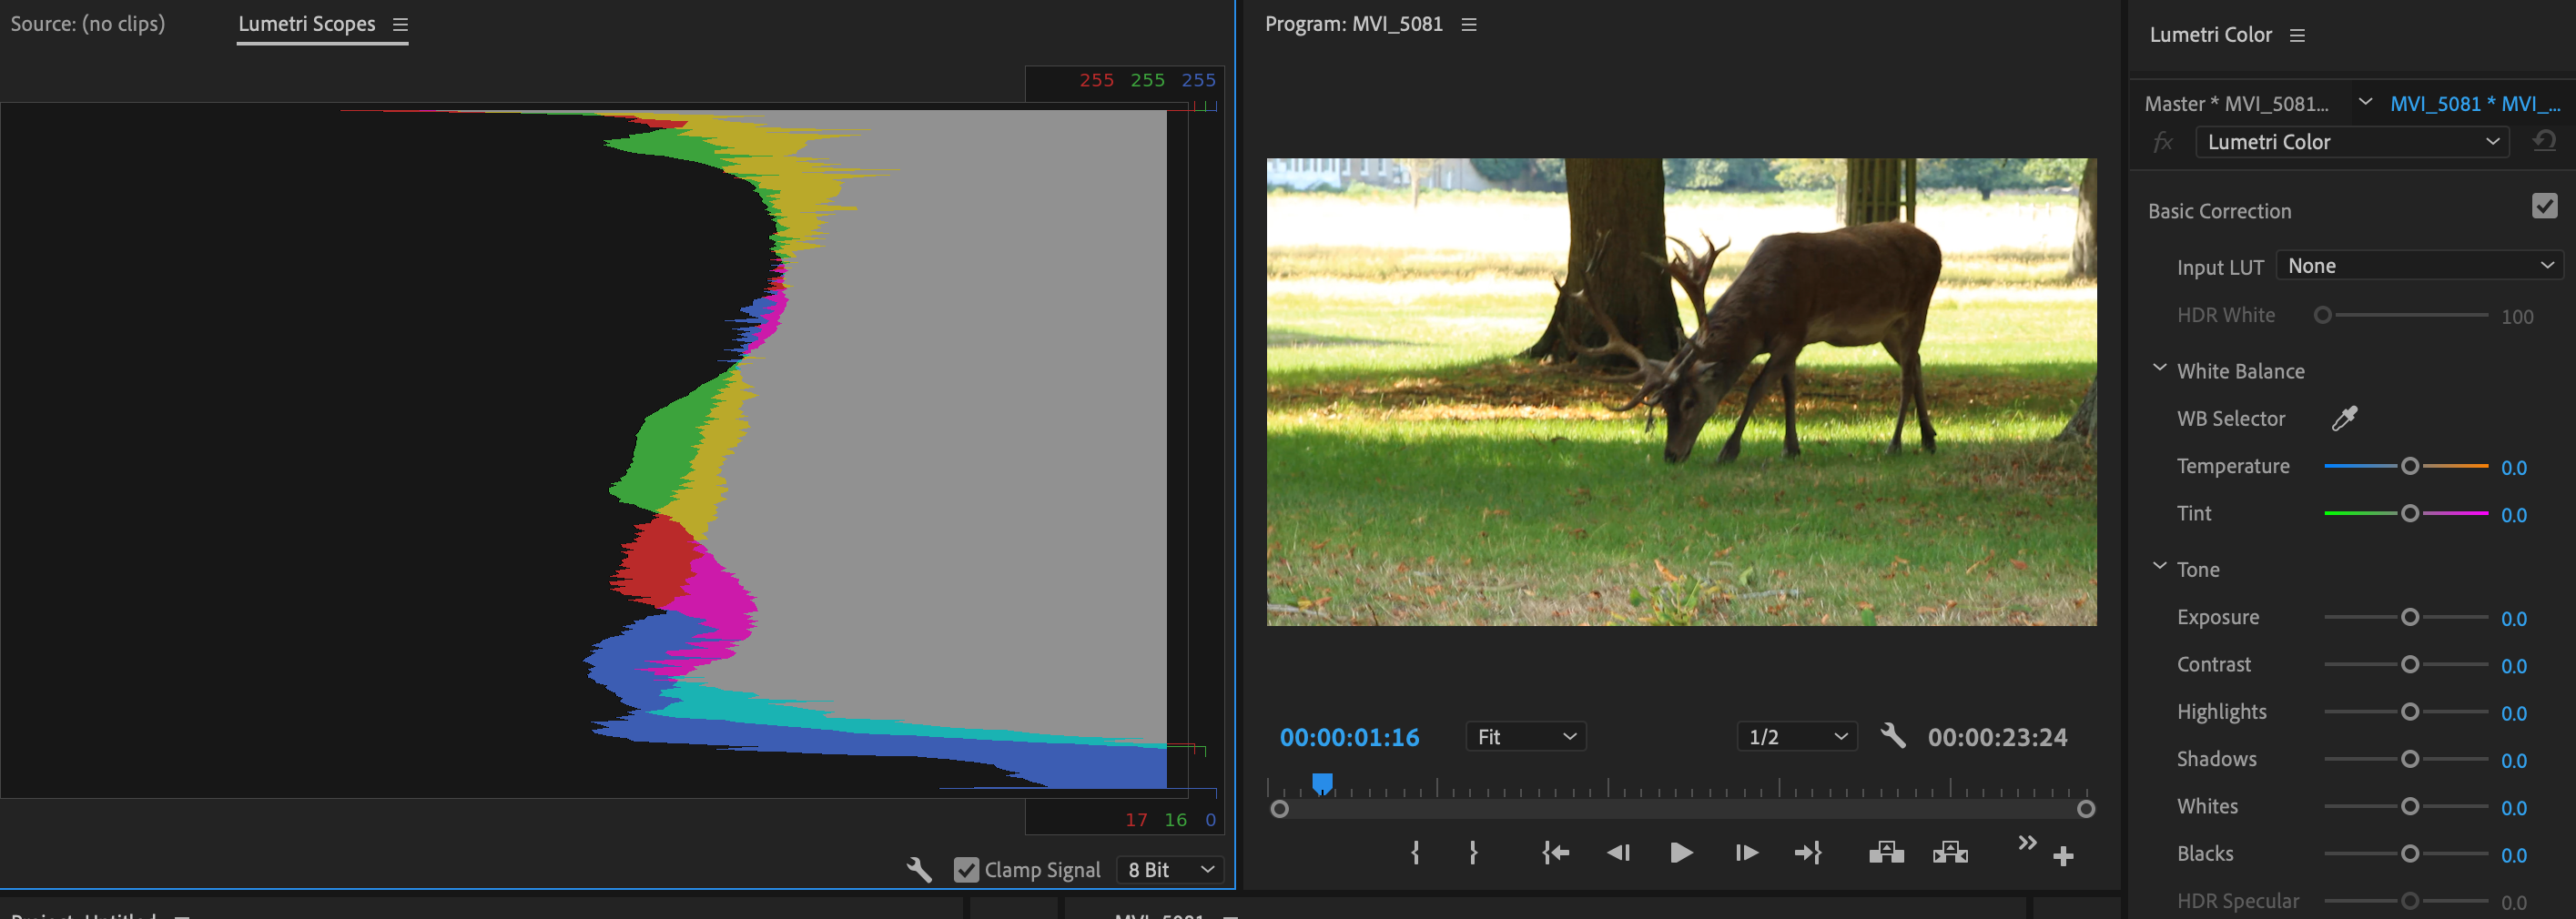
Similar to the waveform, the histogram in Lumetri Scopes shows the intensity of both the chrominance and luminance levels of an image. It reads three main aspects;
The shadows, mid-tones, and highlights.
The best time to use this feature is when you are correcting your shadows, mid-tones, and highlights. This is to ensure your levels are balanced and you don’t have an unwanted tint to the footage.
How to customise the Lumetri Scopes Panel
The wrench bar is the icon at the bottom of the Lumetri Scopes panel. This allows you to customise the display. Premiere Pro’s flexible and offers you plenty of preset layouts.
This means you can switch between the scopes efficiently and even view all of the Lumetri Scopes simultaneously.
You can customise the actual waveforms to suit you and the brightness of the scopes to allow you more freedom when colour grading and correcting.
We hope you enjoyed the post on Lumetri Scopes, please follow us @ifilmthings. For more filmmaking resources on Premiere Pro and Lumetri Scopes. Let us know your thoughts in the comments section below.
Whilst you’re here, please check out our other articles on Adobe Premiere Pro below:
- How to add handheld camera shake in Adobe Premiere Pro
- What’s the best export settings in Premiere Pro CC for YouTube?
- A beginners guide to Adobe Premiere Pro: Learn Premiere Pro in 15 minutes
- The top 6 After Effects skills every film editor should know
- Lumetri scopes functionality: A beginners guide